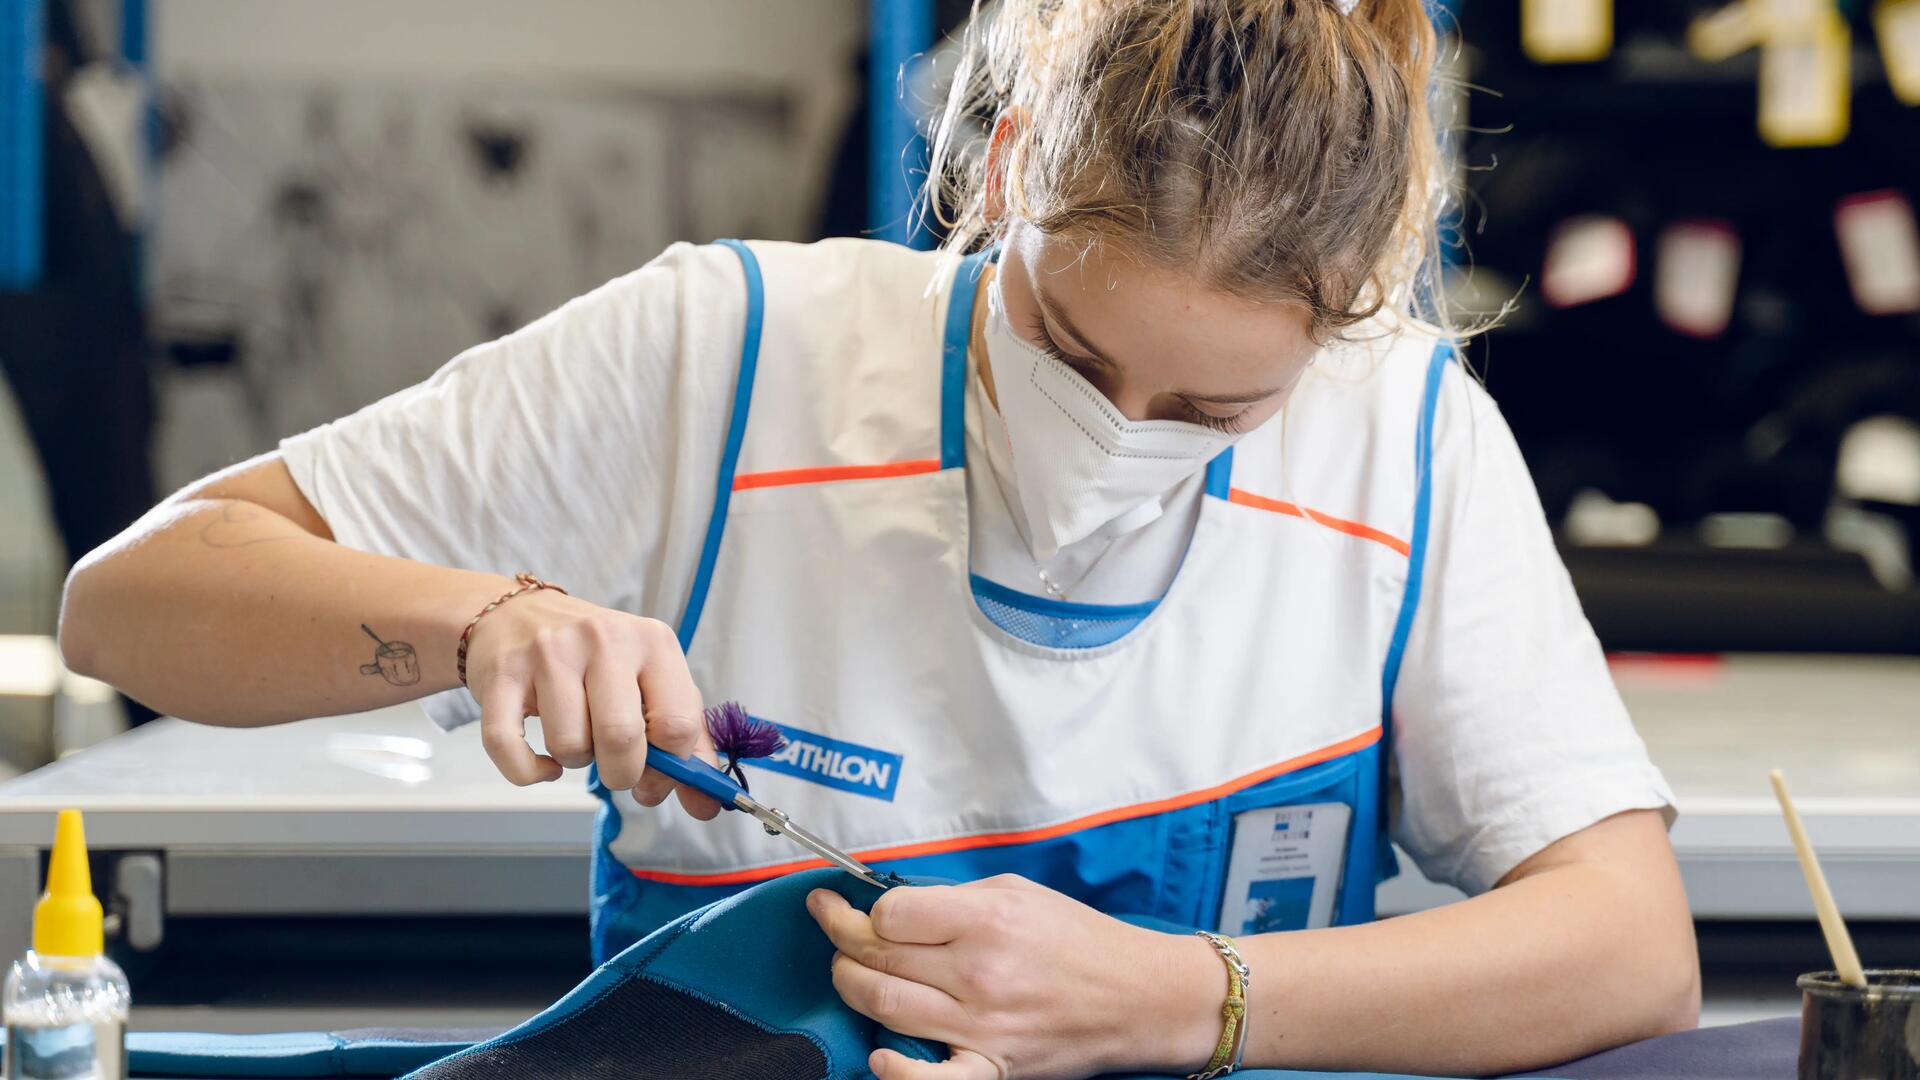
sewing machine repairing a jacket

Simple tips for repairing your own clothes

Does your favourite sweater have a hole in it? Discover some useful sewing tips and tricks for repairing your clothing to make it last longer. 

Learning to repair well-worn clothing is a win-win for both you and your wallet. If your jacket is ripped or some stitching has come apart, a little basic repair know-how can make all the difference between throwing the item out or wearing it again. Taking a crafty approach is both economical and ecological!

Replace a button

It’s never too late (or too early) to learn how to sew on a button. A useful skill for life!

Sew on a button
Prerequisite: Comfort with a needle and thread.


1. Cut about 60 cm of thread and fold it in half.
2. Tie a knot (on the end with two threads), then thread the needle using the folded end.
3. Stitch from the inside to the outside of the material where the button will go.
4. Thread the button onto the needle, then pass the needle back through the hole opposite the first.
5. Continue sewing until the button is solidly attached (about five crosses). Don't overtighten: remember to leave a small space between the button and fabric for easier buttoning.
6. Tie off the thread on the inside of the material, then cut off the excess thread.

Estimated time: 5 minutes

person repairing a garment

Threading a needle

Do you have trouble passing a thread through the tiny eye of a needle? Here’s a trick: with one hand, hold the end of the thread firmly between your thumb and index finger letting only one millimetre stick out (yes, as little as that!). Instead of trying to insert the thread into the needle, lower the needle onto the thread. You’ll have better control and avoid possible fraying of your thread (and your patience!).

Repair woven fabric

If you have a loose thread: first and foremost, resist the urge to pull the thread out! Pulling the thread could create an even larger hole. Instead of cutting the loose thread, thread it onto a needle and pass it back through the woven fabric. Then, tie a knot on the inside of the article of clothing.


If there’s a hole: you have two choices. Either repair the hole with a needle and thread, or apply an iron-on interfacing.

Darning by hand (must know how to sew a button)

Materials needed:
Needle: Any needle will do. However, be aware that the smaller the needle, the less noticeable the stitching will be. For thicker fabrics like denim or leather, use a heavy-duty needle to avoid breaking it.
Thread: Ideally, match the thread to the colour of the clothing you’re fixing. For a small hole, you will need about 30 cm of thread.


Steps:
1. Turn the clothing inside out.
2. Thread the needle, then tie a knot at one end.
3. Pass the needle from the inside to the outside (so the knot is on the inside of the clothing).
4. Create a warp ( structural parallel  stitches) by sewing from top to bottom. Don't wrinkle the clothing by shutting the hole with too much thread tension.
5. When the hole is covered, start weaving across the warp (use perpendicular left to right stitches).
6. When finished, tie a knot on the inside of the material. Ta-da!
Estimated time: 10 minutes

Using an appliqué (must know how to use an iron)

Materials needed:
Iron-on interfacing:
It sounds complicated, but the process is quite simple (iron-on interfacing is also found on the back of badges and patches, for example). All you need is the heat from an iron to fuse a patch onto fabric. No sewing skills required!
Iron and ironing board


Steps:
1. Turn the clothing inside out.
2. Cut out a piece of interfacing (just larger than the hole). Round the corners for a stronger bond that will resist peeling.
3. Place the interfacing over the area to be repaired while making sure the material is flat and the hole isn’t being stretched.
4. Iron-on the interfacing following the instructions on the package.
Estimated time: 5 minutes

Repair a down jacket

If it’s ripped: learn how to fix your down jacket to prevent a tear from getting any worse and losing its down or synthetic fibres.

Darning by hand (not recommended for beginners)

You can sew your down jacket by hand, but be very careful not to pierce the other side, which will reduce the warmth of your thermal jacket!

Unlike knits, stitches made with a needle into synthetic fabrics leave visible traces, so there’s less room for error.

If you’re concerned about the final outcome, use an adhesive repair patch.

Applying a self-adhesive repair patch

The best way to repair your down jacket is with an adhesive patch.

1. Cut out a rectangle (with rounded-edges) one to two centimetres larger than the size of the tear.
2. Make sure the fabric is clean and as flat as possible.
3. Stick the adhesive patch onto the area that needs repair.

That’s it. We told you it was easy!

Estimated time: 1 minute

Réparer un vêtement ou un sac imperméable

En cas d’accroc : pour maintenir l’imperméabilité du produit, ne pas le recoudre ou utiliser un entoilage thermocollant. Comme pour les doudounes, votre meilleur allié sera une pièce de réparation adhésive.

More like this

Man changing a bicycle inner tube

How to change a bicycle inner tube

Changing a bicycle inner tube may seem daunting, but it’s actually quite straightforward, and even gratifying, when you know what steps to follow.

How to adjust a backpack - title

How to Adjust Your Backpack

Ensure a comfortable fit prior to embarking on a hike. A well-adjusted backpack should feel like a seamless extension of your body. Conversely, a poorly fitted backpack can increase the risk of injury and feel as burdensome as a sack of bricks.

woman in front of the 2-second tent

How to fold a pop up tent easily?

Yes, you can pitch this tent in just 2 seconds, but what happens when it’s time to fold it back up? Learn how our innovative design makes this task, a simple one.

A man on a bicycle is about to drink from the tube of his water bag

How to Clean Your Hydration Pack

Designed specifically for those who practice trail running, mountain biking, and hiking, a hydration system with a drinking tube is an essential piece of equipment for intense activity in the great outdoors. Do you know how to properly clean your hydration pack? Here’s a quick guide.

Hiking map with a compass

How to use a compass?

An indispensable device for getting your bearings, a compass is one of the first things you should pack when going on a hike. Extremely useful for orientation, it is one of the best ways to get you from point A to point B. Still, you have to know how to use it to make sure you’re on the right track!