Yes, you can pitch this tent in just 2 seconds, but what happens when it’s time to fold it back up? Learn how our innovative design makes this task, a simple one.
This tent really lives up to its name. It goes up in just 2 seconds! Which means you can get to the good part – appreciating your surroundings and feeling connected with nature – sooner rather than later.
When your camping trip is over, you need to fold your tent back up. No problem! Thanks to our simple folding system, this step is just as easy as when you set it up. But, it's always good to have a quick reminder before heading out for your next camping adventure.
To properly disassemble the Decathlon 2 Second Fresh & Black tent, it's important to first clear out all items from inside the tent. This includes sleeping bags, inflatable mattresses, and so forth. Following that, cautiously loosen all the tent pegs, at the edges, that are anchoring the tent to the ground around it's edges. While doing so, ensure that you do not inflict any damage on the anchor points.
When disassembling a 2-second tent, it's important to properly secure the loops and correctly align the poles, as this simplifies the task. Make sure any excess dirt is removed or quick wipe the tent before storing it backup. To collapse the tent, you should commence by aligning the poles and folding them in an accordion-like fashion. It's key to avoid applying excessive force on the poles, as this could potentially break them. Subsequently, verify that all loops are securely attached to one another to prevent any accidental unfolding of the tent base while it's being stored.
At first, the process of collapsing the structure of a 2-second tent may seem challenging, but it becomes significantly easier with a bit of practice. Once the previous steps are completed, the next step involves folding the tent in on itself, allowing any trapped air to escape in the process. It's vital to avoid using excessive force when handling the tent to prevent any risk of tearing it. It's advisable to continue folding it in on itself multiple times until it reduces to a conveniently compact size.
After the tent is neatly folded, it's advisable to fasten the loops using the designated straps. This ensures the tent remains uniformly folded, making transportation more manageable. The final step is to stow away the tent in its carrying bag, making sure to fold it evenly. It's critical not to over-compress the tent to prevent any deformities. By adhering to these straightforward steps, you'll be able to swiftly and easily fold and secure your 2-second tent, paving the way for you to fully enjoy your future outdoor escapades.
1. Remove the pegs that are holding your tent in place. Pro tip: Let your tent dry out before moving on to the next step. By allowing the humidity to evaporate, you’ll avoid having mold develop on the surface of your tent.
2. When the surface of your tent is dry, step inside the tent. At the very back of the tent, you will find a red strap with two red plastic “female” buckles. Pull the buckles towards the outside of the tent and clip them with the red “male” buckles found on the arched poles of the tent.
3. By rolling the tent with your hands, align the 3 arched poles so that they form a single one.
4. On the opposite side, you will find yellow “female” and “male” buckles. Clip these buckles in the same way that you did for the red ones.
5. Once the three arched poles form a single arch, you will notice a red strap that runs through the centre. With one hand, press firmly on the part of the tent that is gathered at the top, and with the other hand, pull on the red strap.
6. The circle will fall down towards the ground in a tornado shape, or more specifically in the shape of the number 8. Close the central point of the number 8 tightly with the red strap.
7. Using your forearm, hold the centre of the number 8 down to the ground and fold the two circles of the number 8 over onto themselves. This will transform the shape to a 0. You will find two red markers face-to-face on the arched poles to guide you towards the correct final shape.
8. Finally, you just need to secure the fold with the yellow strap. Place it so that it runs across the centre of the circle and pull it tight to secure the folding job.
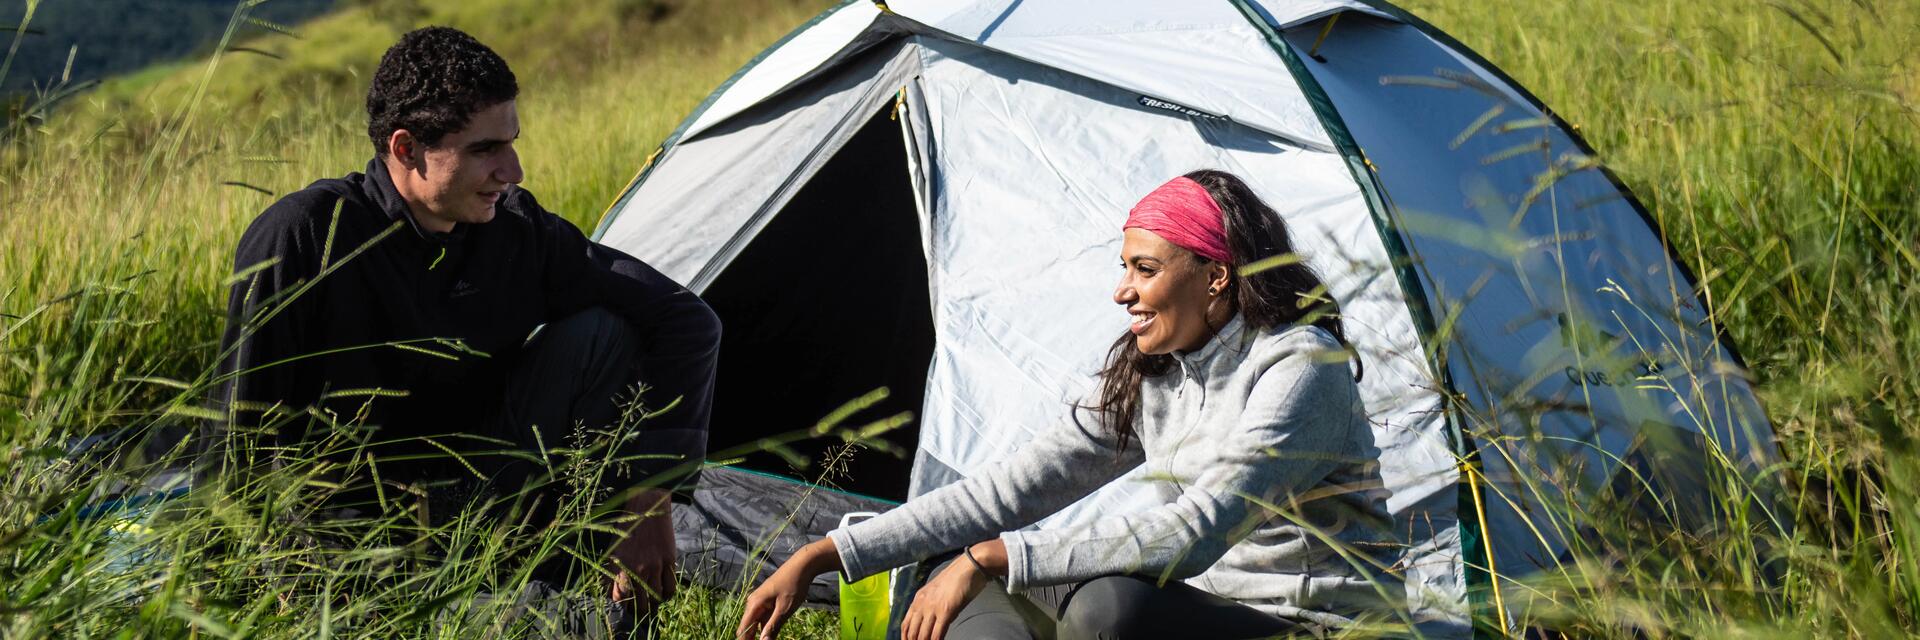
Lastly, pack all the tent components inside the carrying case. Slide the pegs onto the inner wall and fold the tent neatly. Zip up the case and you're ready for your next camping trip! With this exceptional tent, you're sure to turn heads and make others envious of your gear.