Repairing a bike tyre or wheel

Repairing a bike tyre or wheel

Is your bike tyre flat? Here are our tips on repairing it yourself… If you're a little unsure, we're here to show you that you're totally capable of doing this repair job all by yourself!

Is repairing a punctured bike tyre a magic power you think you don't have? Since we believe in you - and because this is a totally accessible repair - here are all our tips for identifying a puncture and repairing your inner tube. Let's go!

Repairing a bike tyre or wheel

What kit do I need to repair a punctured tyre?

Let's start with the basics. To repair a punctured inner tube, you'll need the following tools:

- a special bike puncture repair kit;
- a tyre lever;
- a bucket or bowl of water;
- a bike pump or mini pump;
- a new inner tube.

💡 If the puncture proves to be "serious" (meaning: it's not just a single hole, but a large gash), you'll need to replace the punctured inner tube with a new one. Otherwise, you risk not correctly plugging the hole and finding yourself with yet another flat tyre... just a few metres down the road! So plan to add a spare inner tube to your repair kit.

How do you repair a hole in a bike tyre?

It's a question that we hear often, but most of the time, with a puncture, it isn't your tyre that needs to be replaced but rather your inner tube. The tyre refers to the part in contact with the road, while the inner tube is the rubber tube inflated with air that is placed between the tyre and the rim.

Here is a summary of the steps for repairing your inner tube; each one of them is explained in this article under the video:
1. Remove your bike wheel;
2. Deflate and remove the punctured inner tube;
3. Check the condition of the inner tube;
4. Repair the inner tube (if possible);
5. (Re)place the repaired or replaced inner tube and put the wheel back on the bike.

Repairing a bike tyre or wheel

1. Remove your wheel

It's very simple: unscrew your wheel's quick-release skewer to remove it.

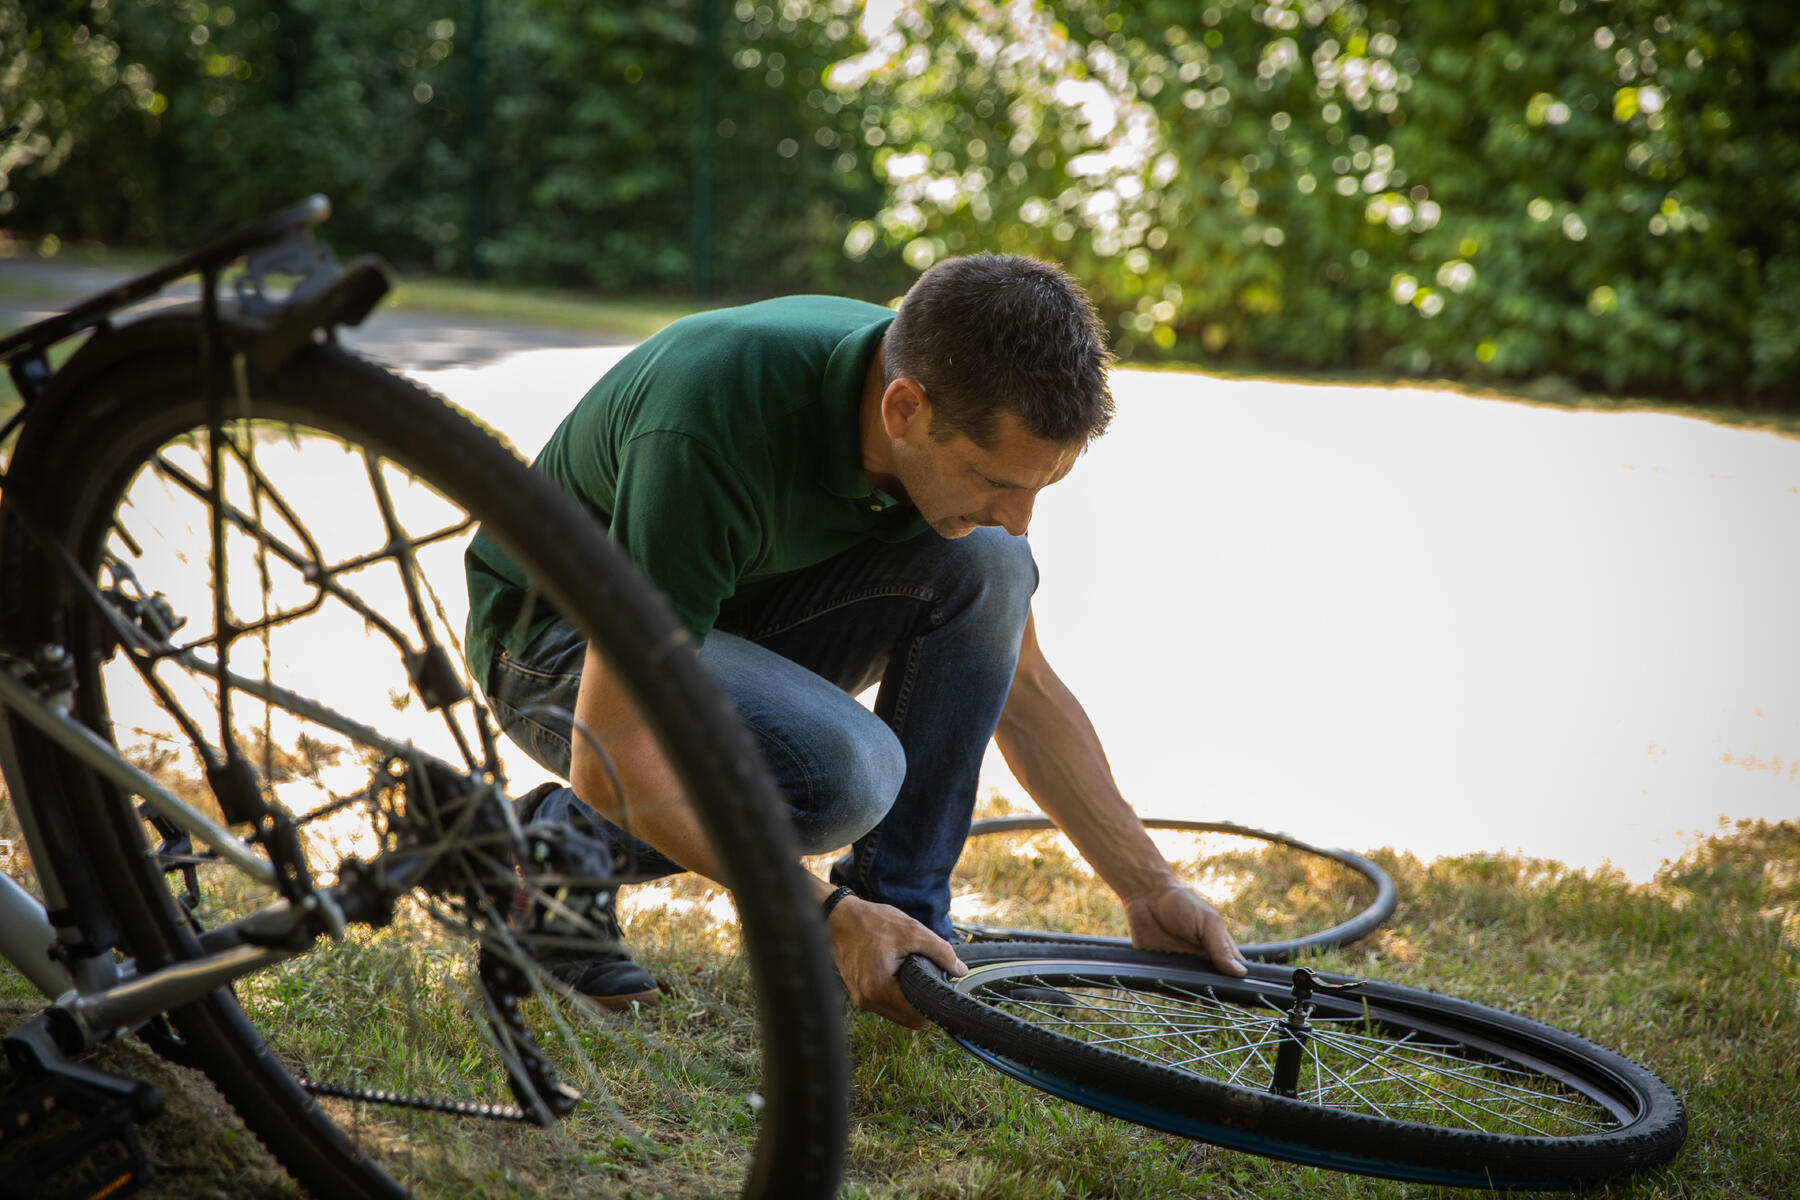
For electric bikes, how do you remove the front/rear wheel?

Knowing how to remove the wheel of an electric bike is useful not only in case of a puncture, but also when you need to store your bike in the boot of a car, for example (in that case, you'd want to remove the front wheel for easier transport).

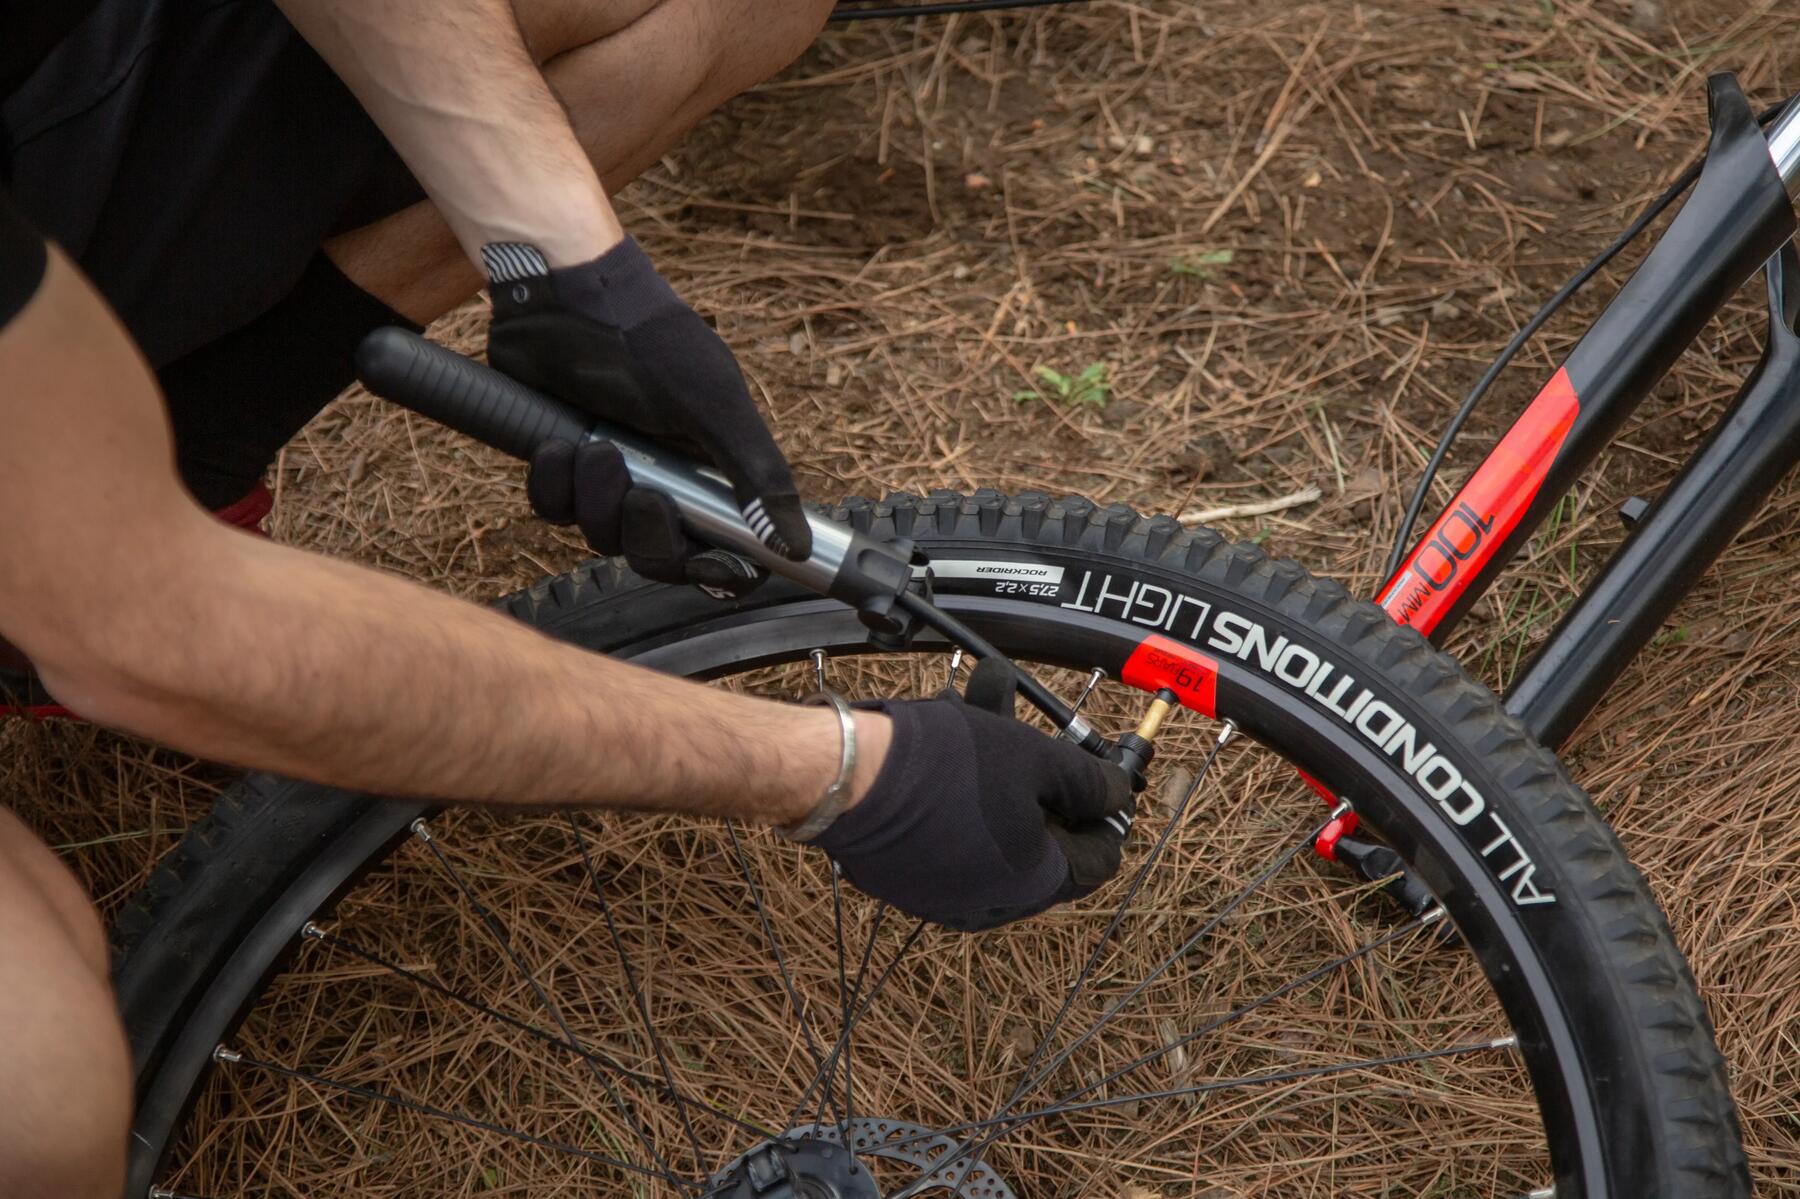
Please note: certain bikes require specific wrenches for removing the wheels. Make sure you always have the needed equipment with you.

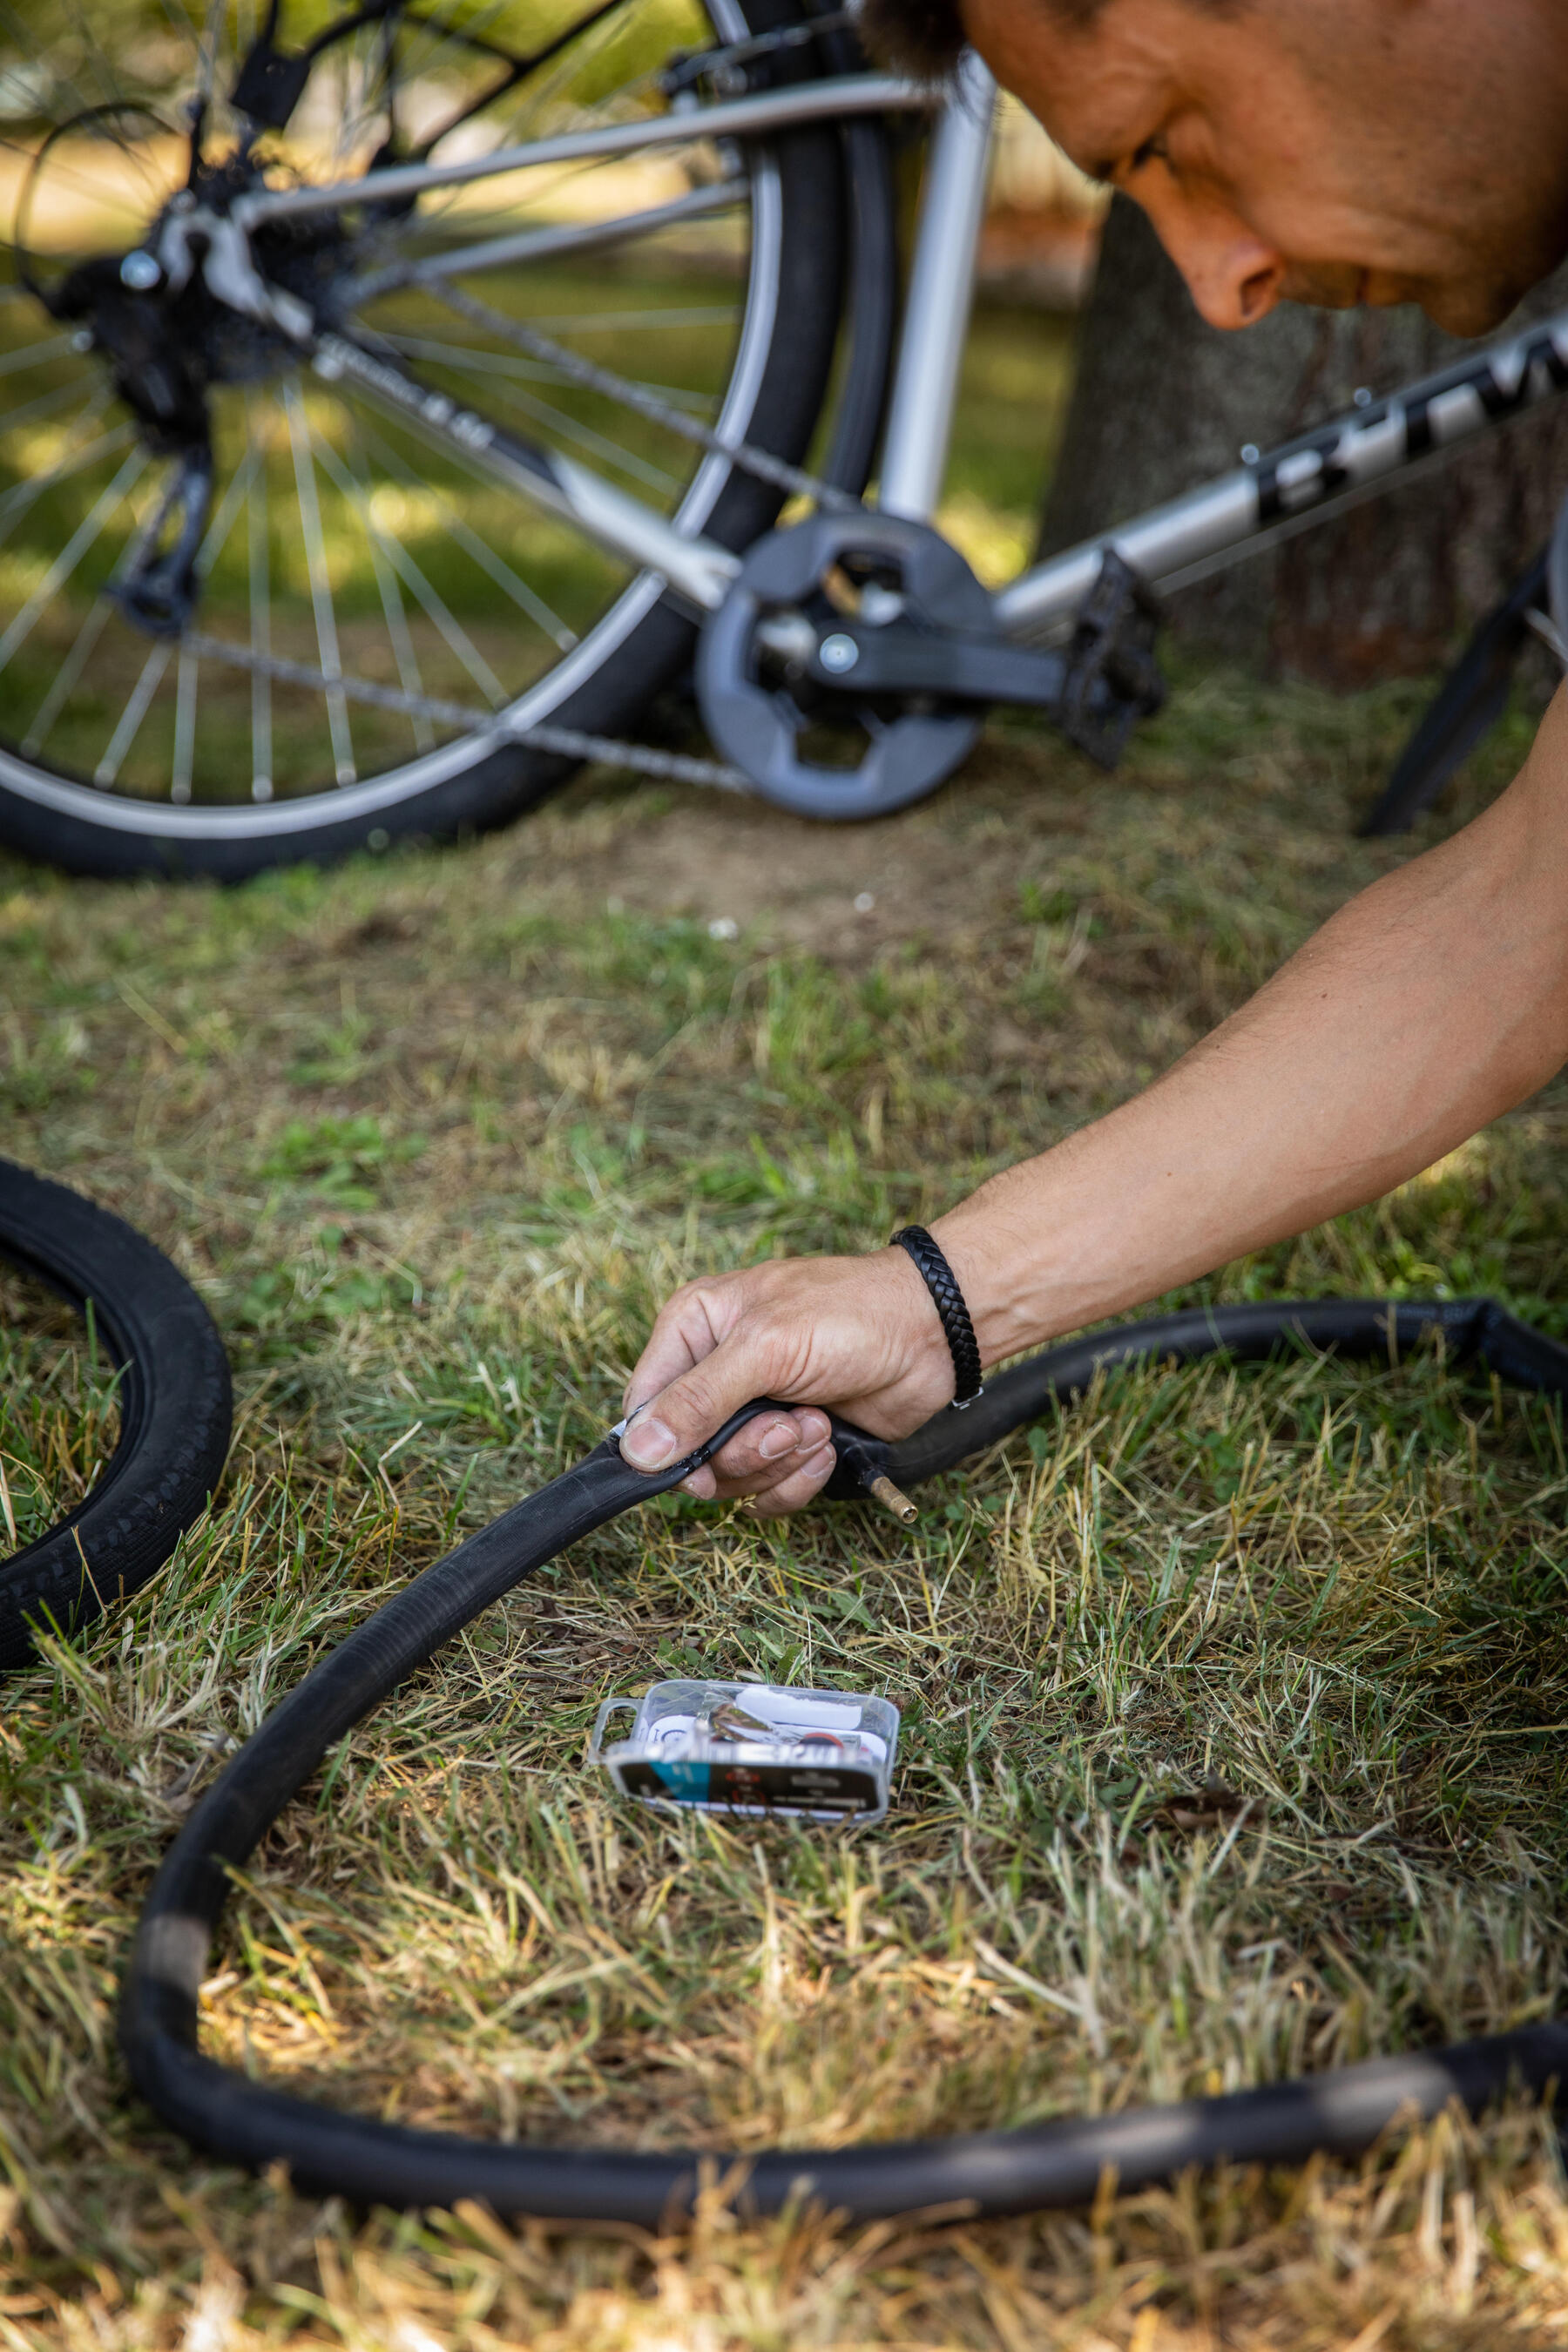
Removing the front wheel of an electric bike is easy to do. As for the rear wheel of an electric bike, that's a different ballgame. You should know that this can be more technical. For that reason, here are your options if you end up with a punctured rear tyre:
Option 1: You want to do the repair yourself, and that does you credit. However, we do recommend watching the disassembly video before starting to make the repair.
Option 2: "Hey, can you come get me?" . Simply remove the bike's front wheel, and put it in the back of your car. The repair can then be done in a repair workshop or on your own.
Option 3: Lock your bike in place, and come back to get it later. That's a possibility that can arise from time to time. Remember to put it somewhere secure to prevent theft.
Option 4: There are bike repair people who can come to your home or to the site of your puncture.

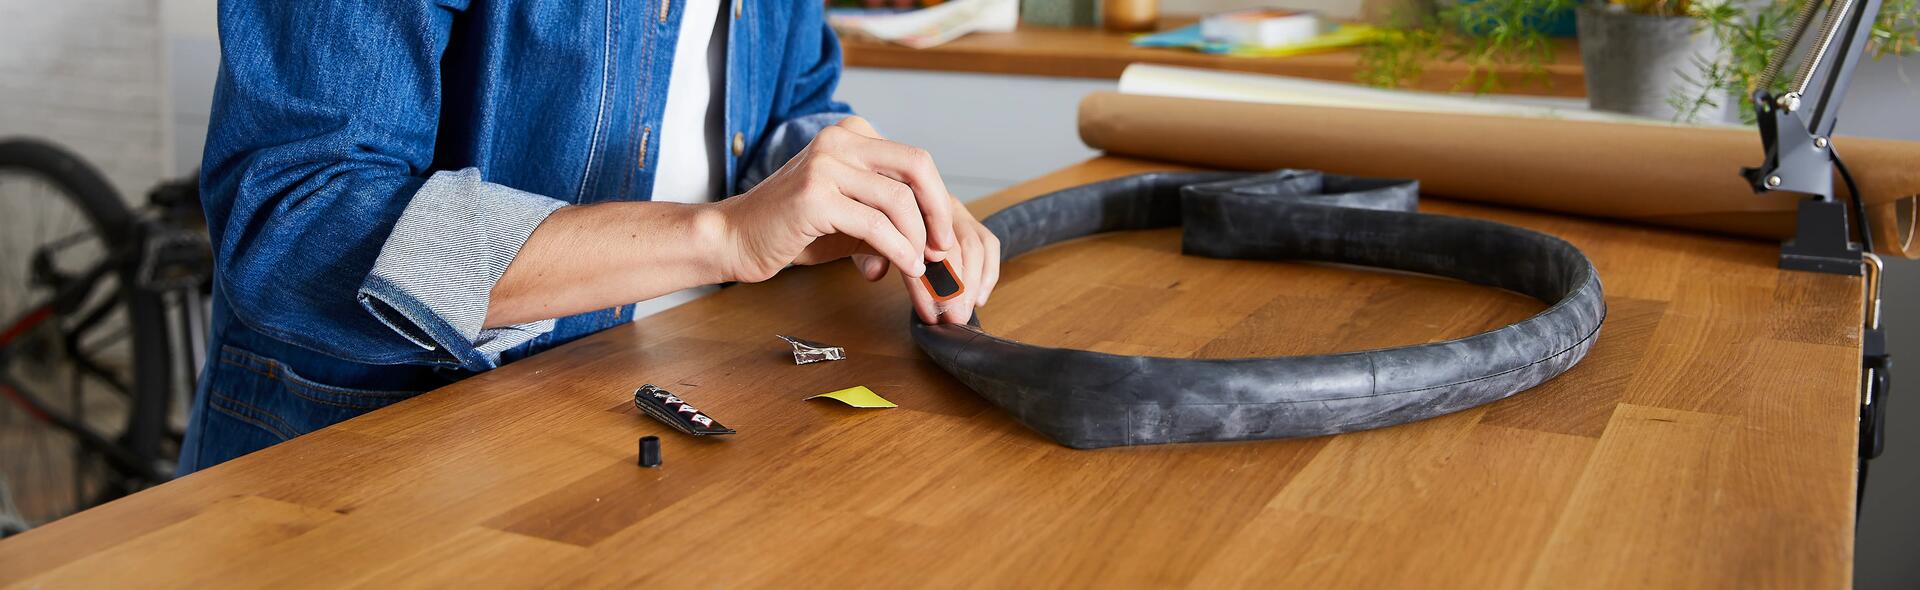
You should also know that electric bikes are nearly all equipped with self-repairing inner tubes. These provide more peace of mind as you ride. A sealant fluid is built into the inner tube that can repair punctures of up to 3 mm that occur on the tread. This type of inner tube can be very useful if you use your bike every day, such as for a commute to work.

Marion, Decathlon Product Engineer, explains how to remove the front and rear wheels of an electric bike:

2. Deflate and remove the inner tube

Once your tyre is off:

Open the tyre's valve to let the air out (if there's any still in there);
• Place a tyre lever between the tyre and the rim (the rim is the edge of the wheel), then slide it along the rim to "remove" one side of the tyre;
• Finally, remove the valve nut from the inner tube and take the inner tube out of the tyre.

3. Check the condition of the inner tube

How to find the cause of a puncture

To figure out what has caused a puncture, you can't go wrong with this method. Take a look!

Inflate your inner tube;
Plunge it into a bucket or basin full of water;
• Carefully inspect your inner tube under the water: where you see bubbles escaping shows you where your inner tube is punctured and needs a repair;
• To finish, deflate your inner tube.

How do you know which type of puncture you have?

Figuring out what has caused your puncture will enable you to correctly repair your inner tube and potentially avoid getting another puncture in the future. There are 4 types of puncture:

• something has pierced the tyre, e.g. a piece of glass, a needle, a thorn, etc;
• the inner tube has been pinched between the road and the rim;
• a spoke has pushed through the rim and made a hole in the inner tube;
• the valve has worn out.

Regardless of which type of puncture you're dealing with, we always recommend checking that there's nothing hiding inside your tyre. It would be a shame to re-install a repaired inner tube underneath a tyre hiding a shard of glass or another item likely to cause a new puncture.
Also look carefully at the rim to check that no spokes are poking through, as well as the rim tape which should protect the inner tube from the spoke heads.

DECATHLON REPAIR PATCH KIT AW23 SS24

4. Repair or replace your punctured inner tube

How do you repair a flat tyre with a patch?

To repair your inner tube, you need to give it some love with the following simple steps:

• Start by fully drying the area around the hole(s) to be filled;
Use some sandpaper to sand around the hole (over an area slightly bigger than the patch that you're about to stick on) so that the glue will be able to get enough adhesive hold;
Thoroughly remove any dirt and dust from where the patch is going;
From your repair kit, take some glue and a patch big enough to cover the surface of the hole;
Apply a thin layer of glue to an area larger than the size of your patch.

Wait for around 5 minutes to give the glue a chance to dry (enjoy the chance to admire the landscape), while ensuring that no residue or garbage is in contact with the glue, which is intended for the patch only.

Peel the patch off its backing and position it over the hole and the glue;
Press down firmly on the patch to make sure it sticks to your inner tube;
Lastly, remember to remove the transparent protective film from the surface of the patch.

All that remains is to repeat these steps if your inner tube has any other holes in it.

How do you repair an inner tube without a patch but with a puncture spray?

If you don't have a patch to repair your punctured inner tube, and you also don't have a spare tube, using a puncture spray can be an easier alternative that is just as reliable.
To use your spray, simply insert the nozzle into the valve and spray it in (as if you were pumping up your inner tube). The sealant should then plug the hole.
Note that once you get home, you should remember to replace your inner tube. The sealant is just a temporary fix; it isn't a long-term repair.

Bike tutorial: how to use a puncture spray

Does your inner tube seem irreparable, or you don't have the equipment you need? Don't waste time: replace the punctured inner tube with a new one, and set out on the right foot! You can always check if your inner tube is repairable once you're home, and if it isn't, remember to recycle it.

What is a slow puncture, and how do you repair it? 

A slow puncture is when the inner tube gets punctured... slowly! That's all we've got... you're welcome ;) ! No, seriously, a slow puncture is when your tyre is flat today, even though it wasn't when you put it away yesterday. In the case of a slow puncture, it takes several hours or even days for your tyre to deflate. A slow puncture can be caused by a thorn or small piece of glass being stuck in the tyre.
To repair it, as mentioned above, we recommend removing both your tyre and inner tube, checking your tyre thoroughly to find the cause of the puncture, then repairing or changing your inner tube.

5. How to put an inner tube back on your tyre

Your inner tube is finally ready to be put back on! To do so, follow these steps:

• Start by slightly inflating the inner tube to give it some shape;
• Put it inside the tyre, making sure to position the valve in the right place.
💡 Tip: place the marking on the tyre over the valve hole. That will make repairs easier if needed.
• Re-insert the tyre sidewall, checking the direction of rotation (which is visible on most tyres).

Remember to check that the inner tube hasn't got pinched between the tyre and the rim.

• Finish inflating your inner tube with your pump, and put the wheel back on the bike.

Repairing a bike inner tube

Bike tyre with low pressure (but not flat): WHAT SHOULD BE DONE?

To avoid riding on a flat tyre, or at least on an underinflated one, remember to check your tyre pressure before every ride to make sure it matches the information on your tyre's sidewall.
And when it comes to reinflating your tyre, nothing could be simpler: just use a pump, or a hand pump that fits inside your cycling jersey or bag.

ALL ABOUT REPAIRING PUNCTURED TUBELESS TYRES (ROAD OR MOUNTAIN BIKES)

How to repair a tubeless tyre(mountain, road, or gravel bike)

A "standard" tyre has an inner tube that can be repaired and that is inflated under the tyre, while a "tubeless" tyre does not require an inner tube (as the name "tubeless" "suggests"). It contains a puncture-resistant sealant.
So, what do you do when a tubeless tyre punctures in spite of its puncture-resistant foam? Don't worry, there are several things you can do:

Use a syringe to insert some sealant (which acts as a preventative);
Go back to using a good old inner tube;
Use a special glue that will stick to the rubber or neoprene;
Stick on a tubeless tyre patch.

It's up to you to use whichever method suits you best :)

How and when to replace a bike tyre 

Tyres are parts that will wear out over time, and a worn tyre will not only lose traction, but will also be more prone to punctures.

💡 A "standard" tyre is replaced when it's worn and (more or less) every 5,000 kilometres.
But that's in theory. For certain sports, like mountain or gravel biking, your tyres go through a lot and wear out faster. City roads can also be prone to causing punctures and tyre wear (thanks to stray pieces of garbage). The easiest is to regularly check the condition of your tyres: if they are smooth or cracked, replace them!

Where can you get your tyre repaired, and how much does it cost? 

Want to get your worn or punctured tyre replaced in a workshop? You can do it at Decathlon! Just make an appointment online or in a store. Note that it will cost between €11 and €30 for labour and spare parts, depending on the repair.

As for the tyre itself, prices vary depending on the type of bike and tyre you choose. To give you an idea, here are all our bike tyres.

Repairing a bike inner tube

That's it, we've covered everything there is to know about repairing your inner tube. We hope that all this information will have been able to guide you and, above all, inspire you to take care of it! 

CHARLOTTE

Bike commuter, enthusiastic athlete, and Decathlon fan

Other bike maintenance and repair tips:

HOW TO CLEAN YOUR BIKE

How to clean your bike

Regular and thorough maintenance will prevent parts wearing or breaking prematurely so you can enjoy your bike for longer. If you do not maintain your bike often enough, you may end up having to pay for extra repairs!